Discovery kit with STM32F429ZI MCU board contains nice mix of components to get started STM32F4 series microcontroller development. It has build in debugger. It is powered from debugger’s USB port. You connect to the computer and are ready to go..

Getting started
- Download and install System Workbench for STM32.
- Meanwhile we suggest creating a folder (“ArtLessons” is a suggested name) that contains the following subfolders:
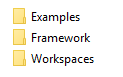
We will put Art framework components into Framework folder, examples into Examples, and workspaces into the Workspaces folders..Workspace is a collection of projects and settings shared over them. Projects do not have to be stored in the folder that workspace resides.. They can be linked to more than one workspace.. That way you can use same library in different workspaces for different purposes.. In our examples, the workspace consists of Art libraries and the example projects. The examples are compiled against the libraries. The compiler finds corresponding libraries that are added/linked to the workspace.. - Download the following Art framework libraries and extract them into the Framework folder.
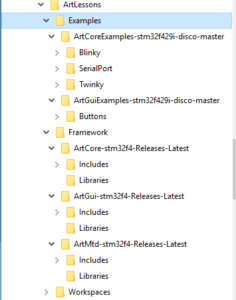
ArtCore-stm32f4
ArtMtd-stm32f4
ArtGui-stm32f4 - Download the following example packages and extract them into Examples folder.
ArtCoreExamples-stm32f4
ArtGuiExamples-stm32f4
Finally your ArtLessons folder should look like this:
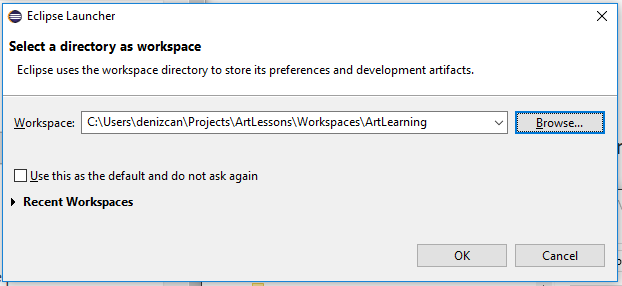
- When you run the IDE it will ask for workspace location.
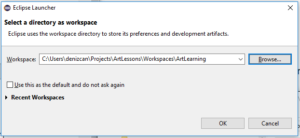
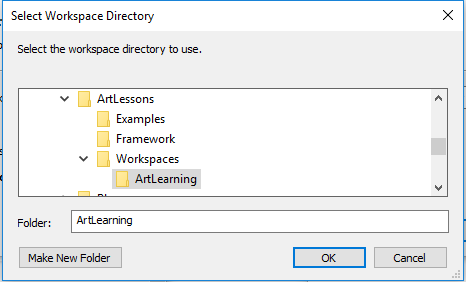
Click “Browse” - Browse to the “Workspaces” folder we created. Under it, create a subfolder. You may name it freely, however for the sake learning, lets call it “ArtLearning”.

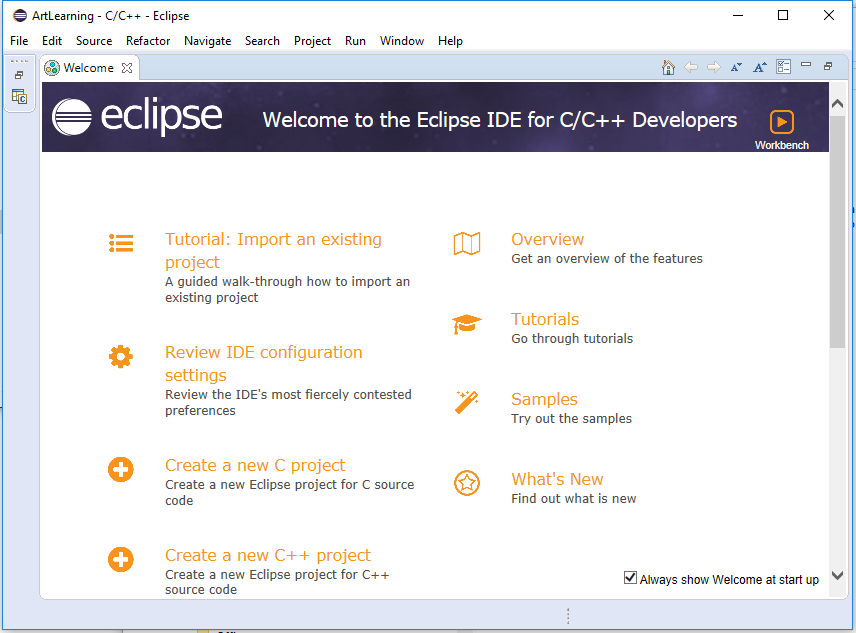
Select it, and click “OK”. Than click”OK” in the “Eclipse Launcher” dialog.. Eclipse will create an empty workspace in that location. - Eclipse will open with welcome page..

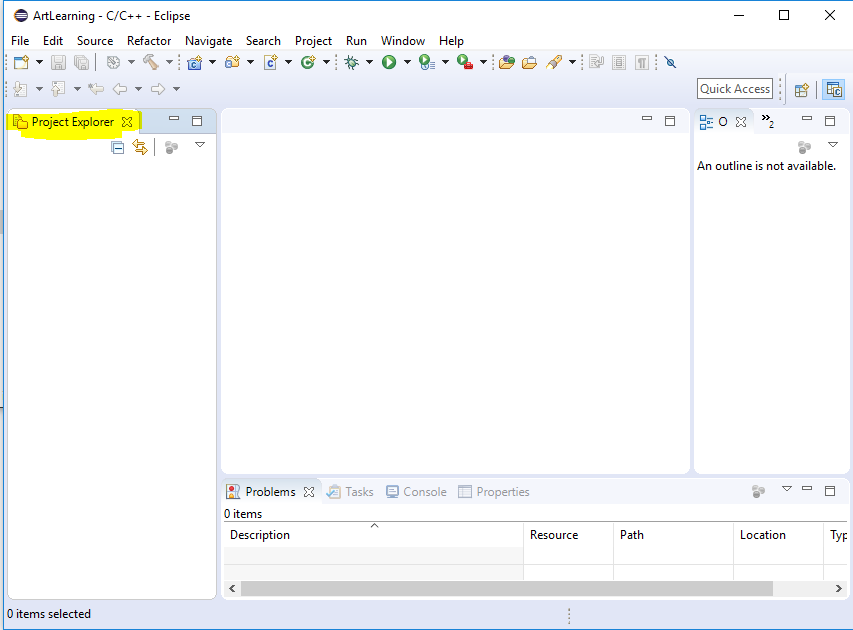
Closing it unveil the Project Explorer
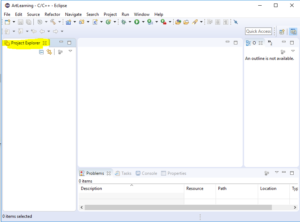
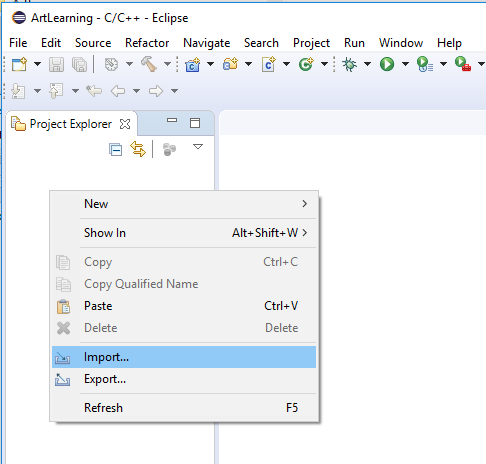
- Right click inside “Project Explorer” to show context menu, click “Import” to import projects..

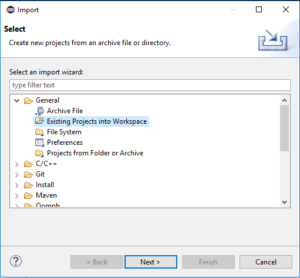
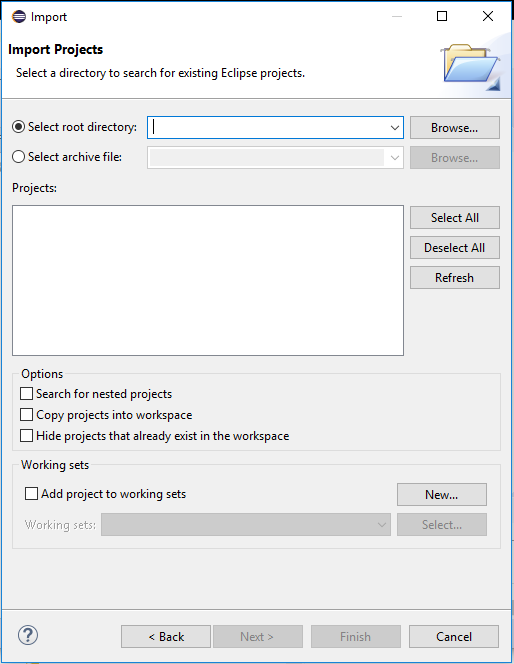
Import dialog will open. - Under “General” select “Existing Projects into Workspace” and click “Next”.
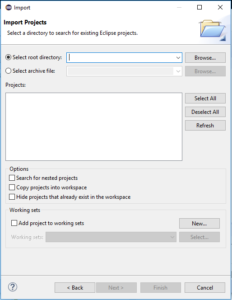
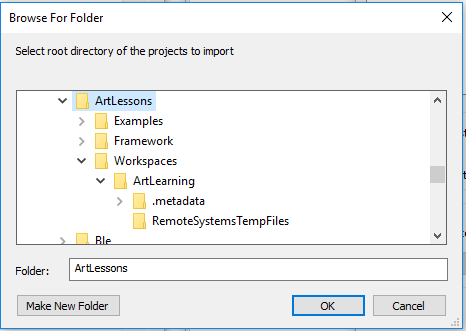
- When Import Projects dialog appears, select “Select root directory” and click Browse.
- In “Browse For Folder” dialog select “ArtLessons”, which is the root folder of our tutorial folders..
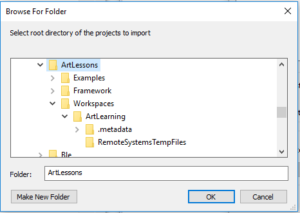
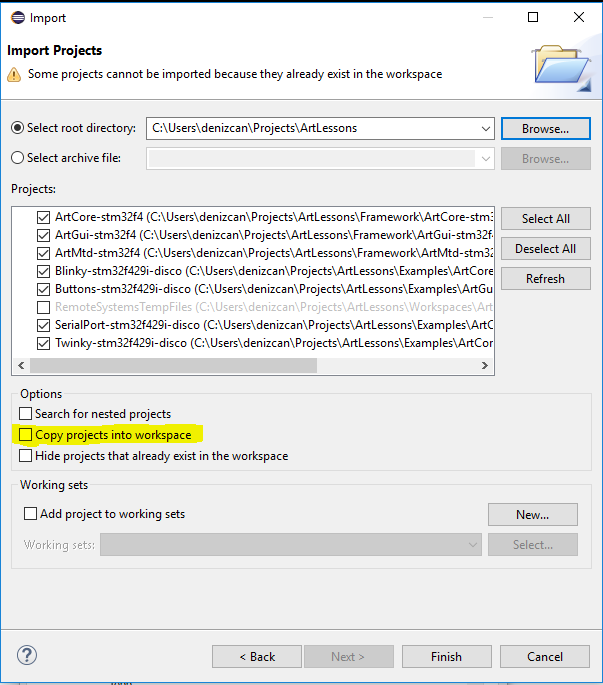
The Eclipse will scan subfolders for Eclipse projects.. - Ensure that the projects we downloaded are checked in “Projects” list, and also ensure that “Copy projects into workspace” is unchecked.. If that was cheched, Eclipse would copy all the projects into the workspace folder we created.. We want to share projects between workspaces, so it is better for us the projects reside in the same spot..

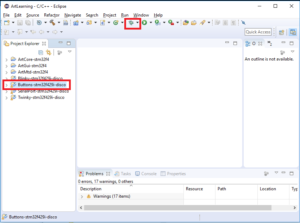
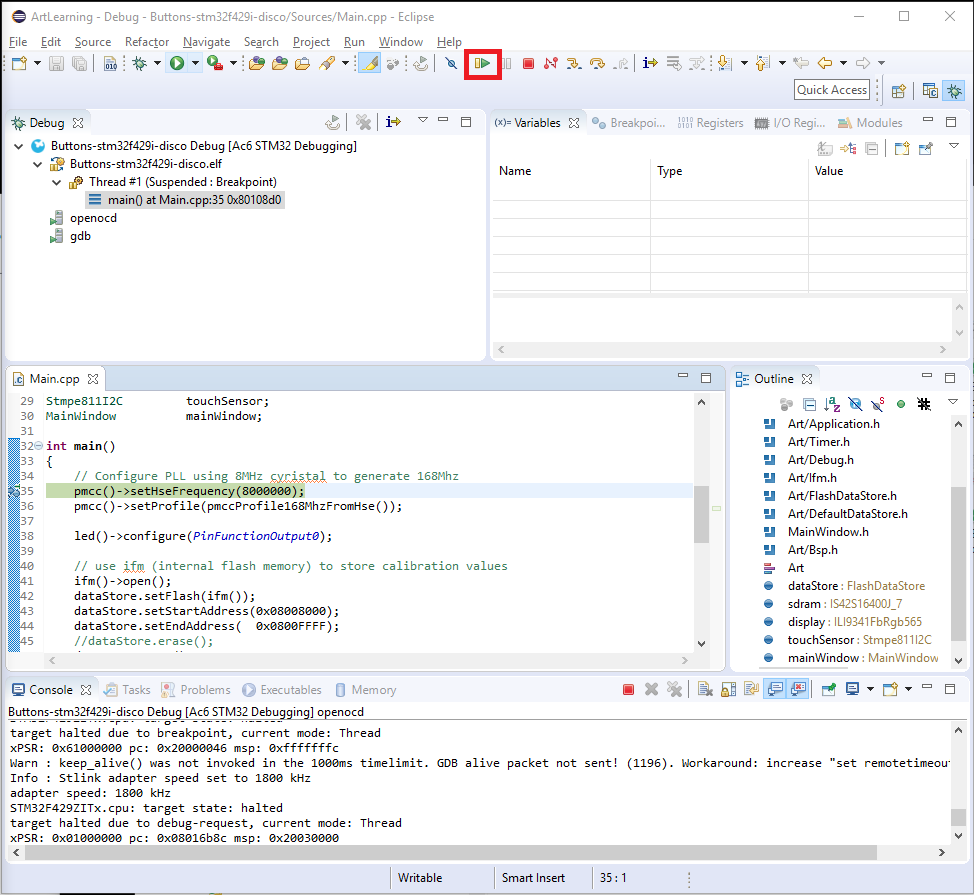
Click “Finish” to complete the import process. - The projects will be imported into the workspace, listed in the Project Explorer.. The projects whose names start with “Art” belongs to the Art Framework, the rest are the different examples. Select “Buttons-stm32f429i-disco” project, click the bug icon to download and start debugging.
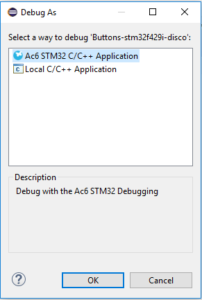
- In “Debug As” dialog, select “Ac6 STM32 C/C++ Application” and click OK.
- Eclipse will build the project, download into the board and start debugging.. Click play icon to run the project..
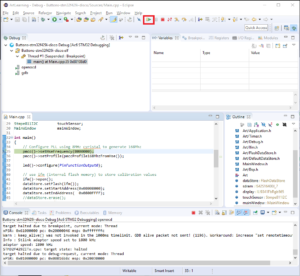


In “Buttons” example, if you are using the board for the first time with Art Framework, there will be a display calibration window for the first run.. You need to click 5 different locations pointed by a cross.. After other runs, the calibration will be remembered and you will not need recalibration unless you erased or override the flash used by dataStore object. (Which is included from ArtMtd package)
Feel free to explore other examples..